The Tournament Experience option is designed to help easily create a page to support and promote your team during the Men's and Women's College Basketball tournaments.
You can follow the steps below to create that Tournament Experience page for your website.
Example Page:
https://goheels.com/tournament-experience/mens-basketball/2024
Setting up the Tournament Experience Page
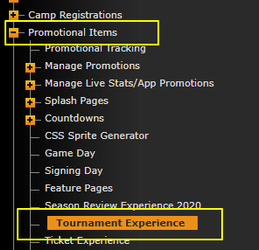
- You can start the setup by going in the admin under Promotional Items>Tournament Experience
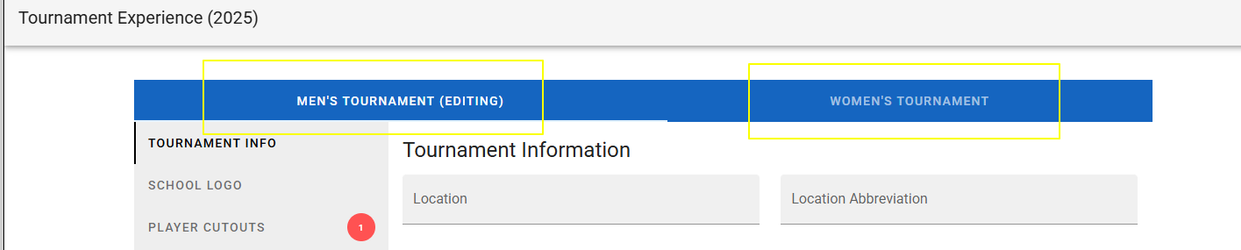
- There is a Men’s and Women’s tab across the top, so those can be clicked to setup/edit each version of the page as needed.
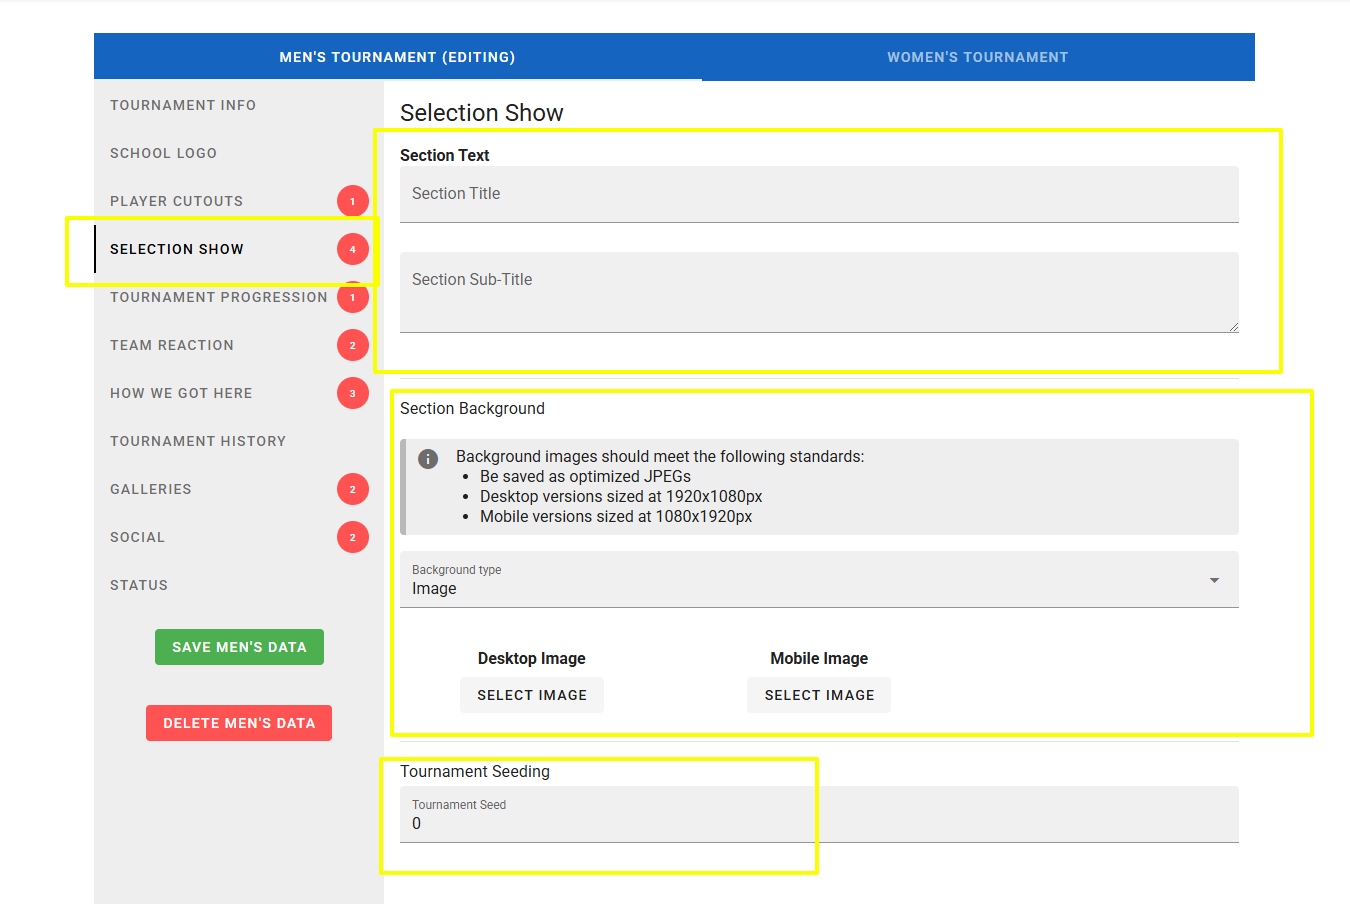
- Each tab will guide you through the necessary setup items to easily progress through each available tab
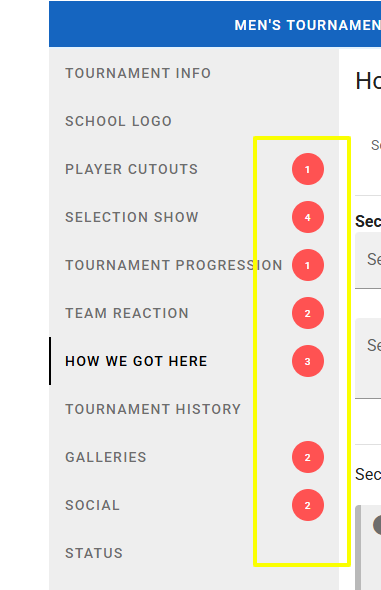
- The red highlighted number next to each section alerts to how many fields in that specific section still need to be filled out to be completed. So if you are using a section, make sure all of the fields are completed to that the alert goes away
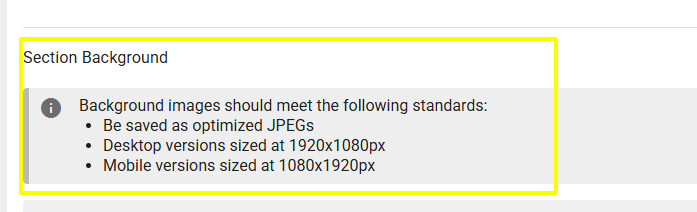
- Each section has the Required Image Specs labeled throughout each section, so can reference those as needed
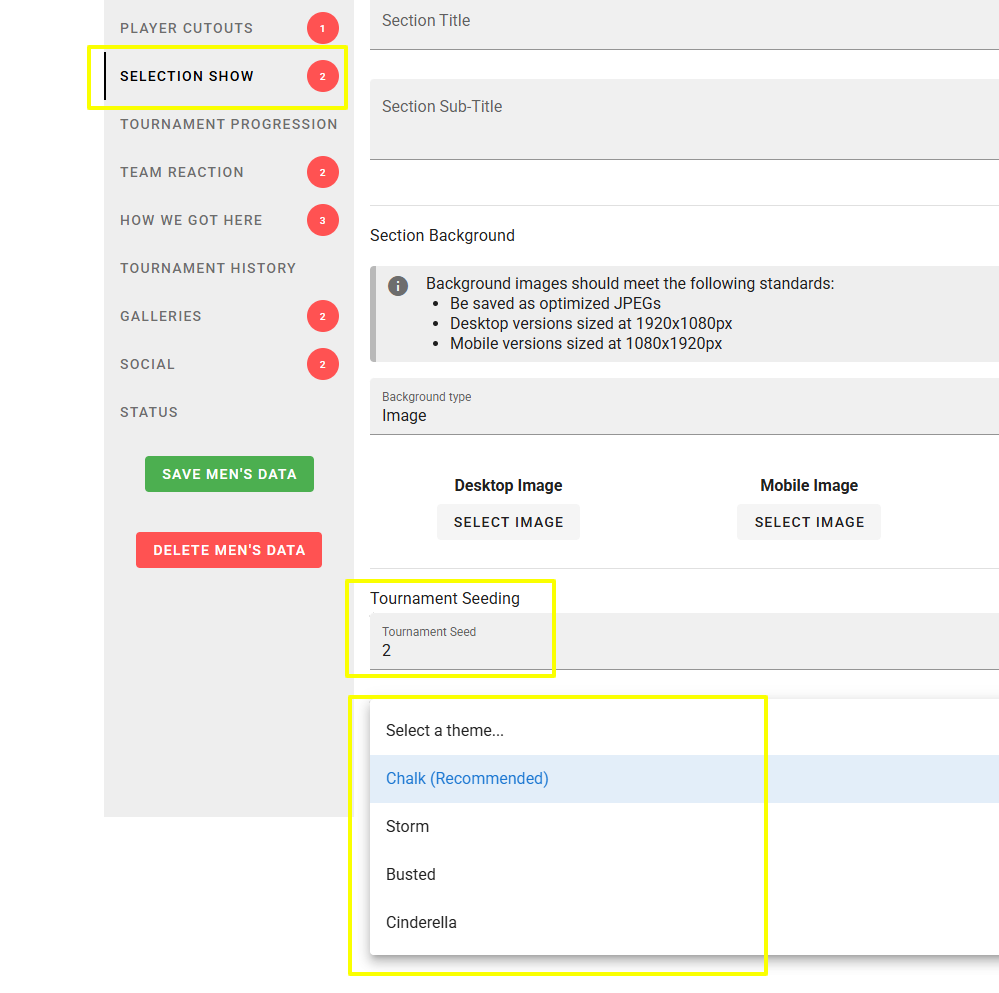
- As part of the Selection Show tab, you are required to enter your Tournament Seeding and then choose one of the overall page themes.
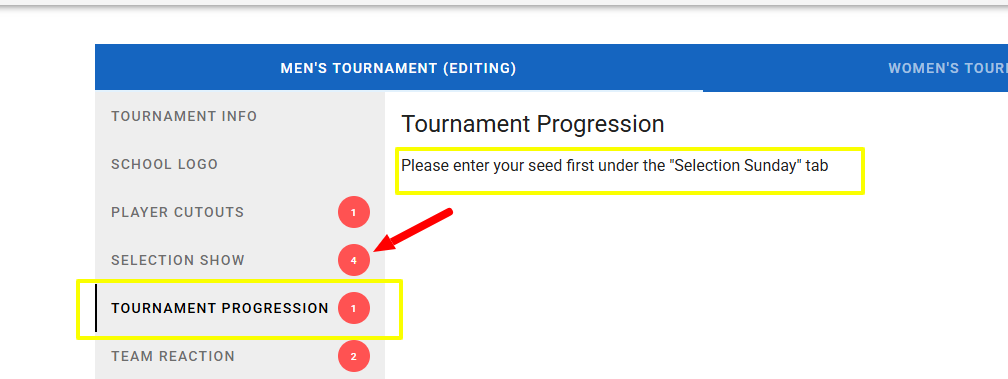
- The Tournament Progression tab only becomes active after you have entered your Seed on the Selection Show tab.
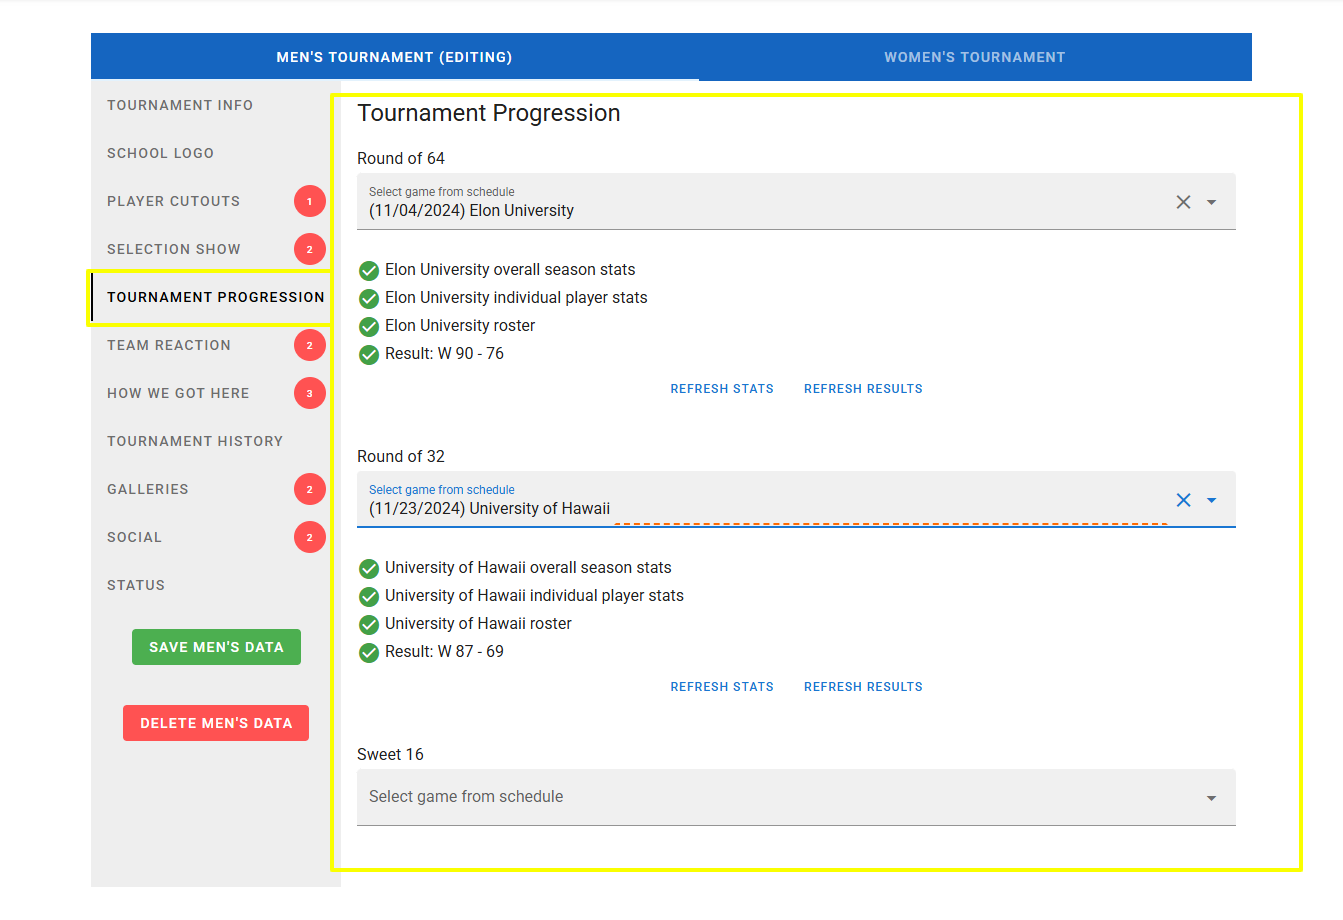
- Tournament Progression then allows you to select games from your schedule, as you advance
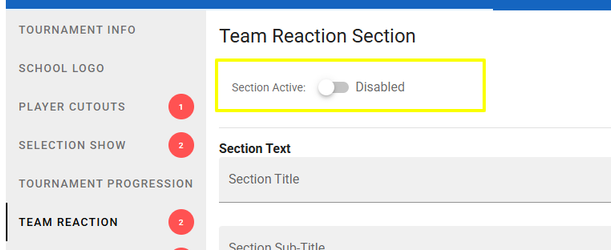
- There are some sections that have a toggle to display or hide the section
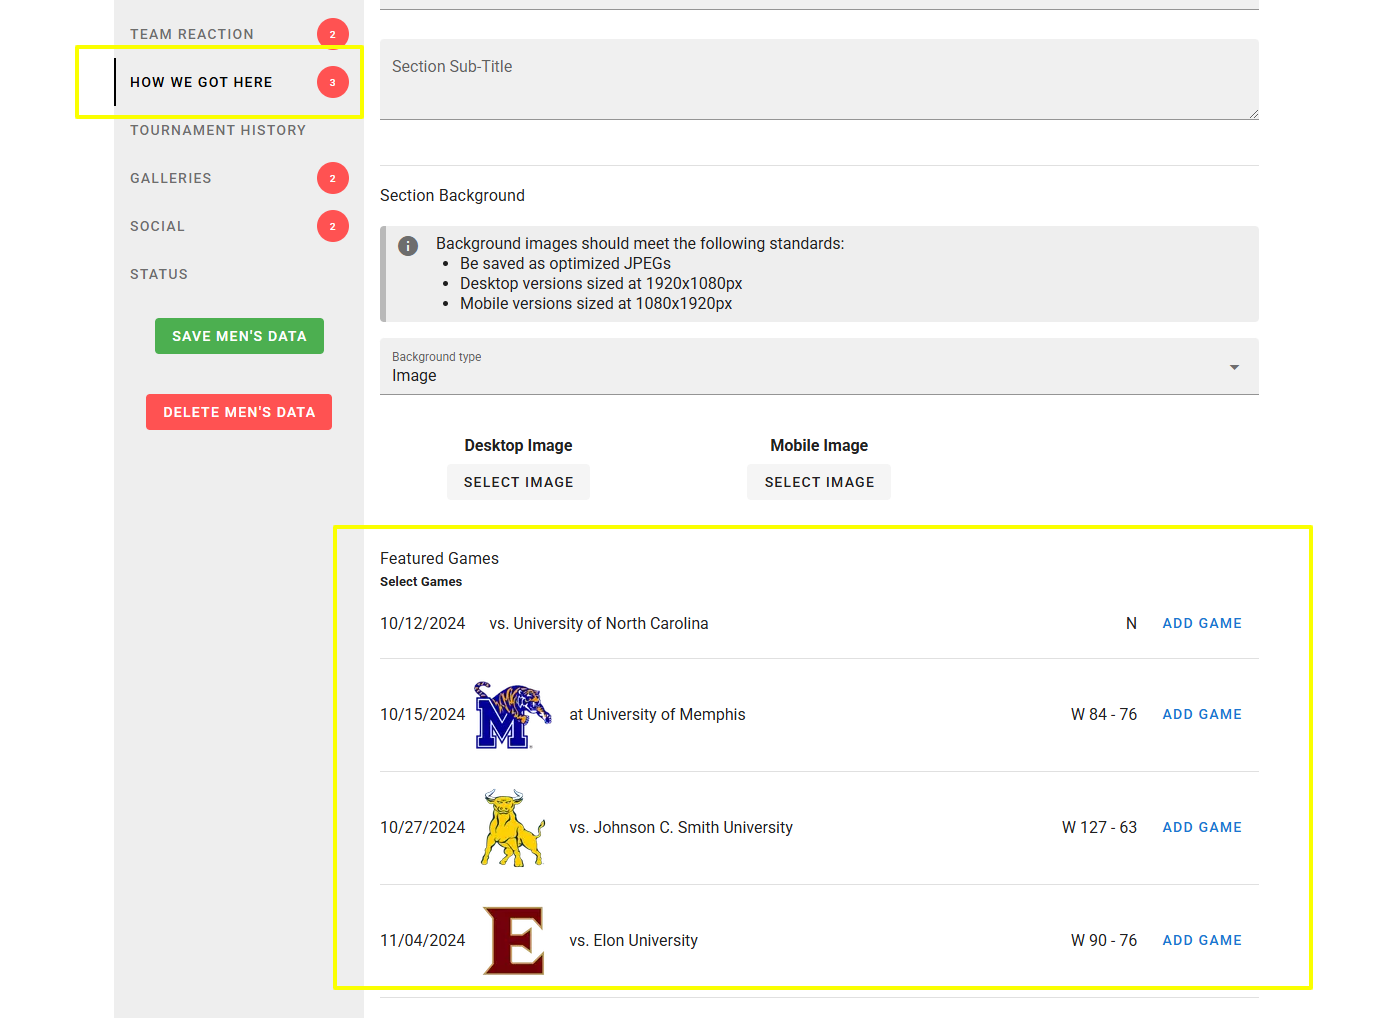
- How We Got Here allows you to highlight key games from your schedule as part of your tournament run
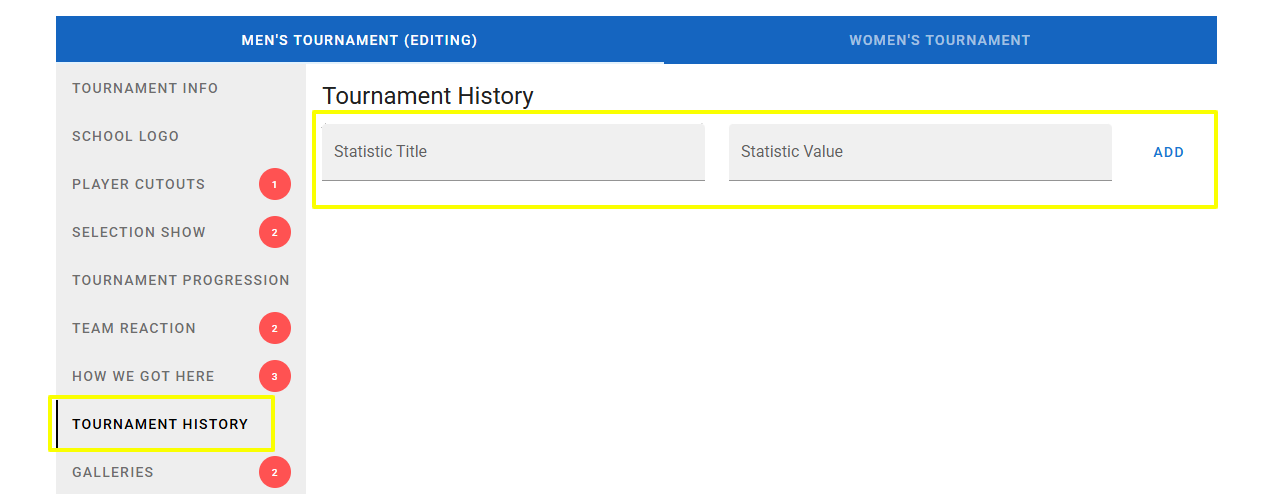
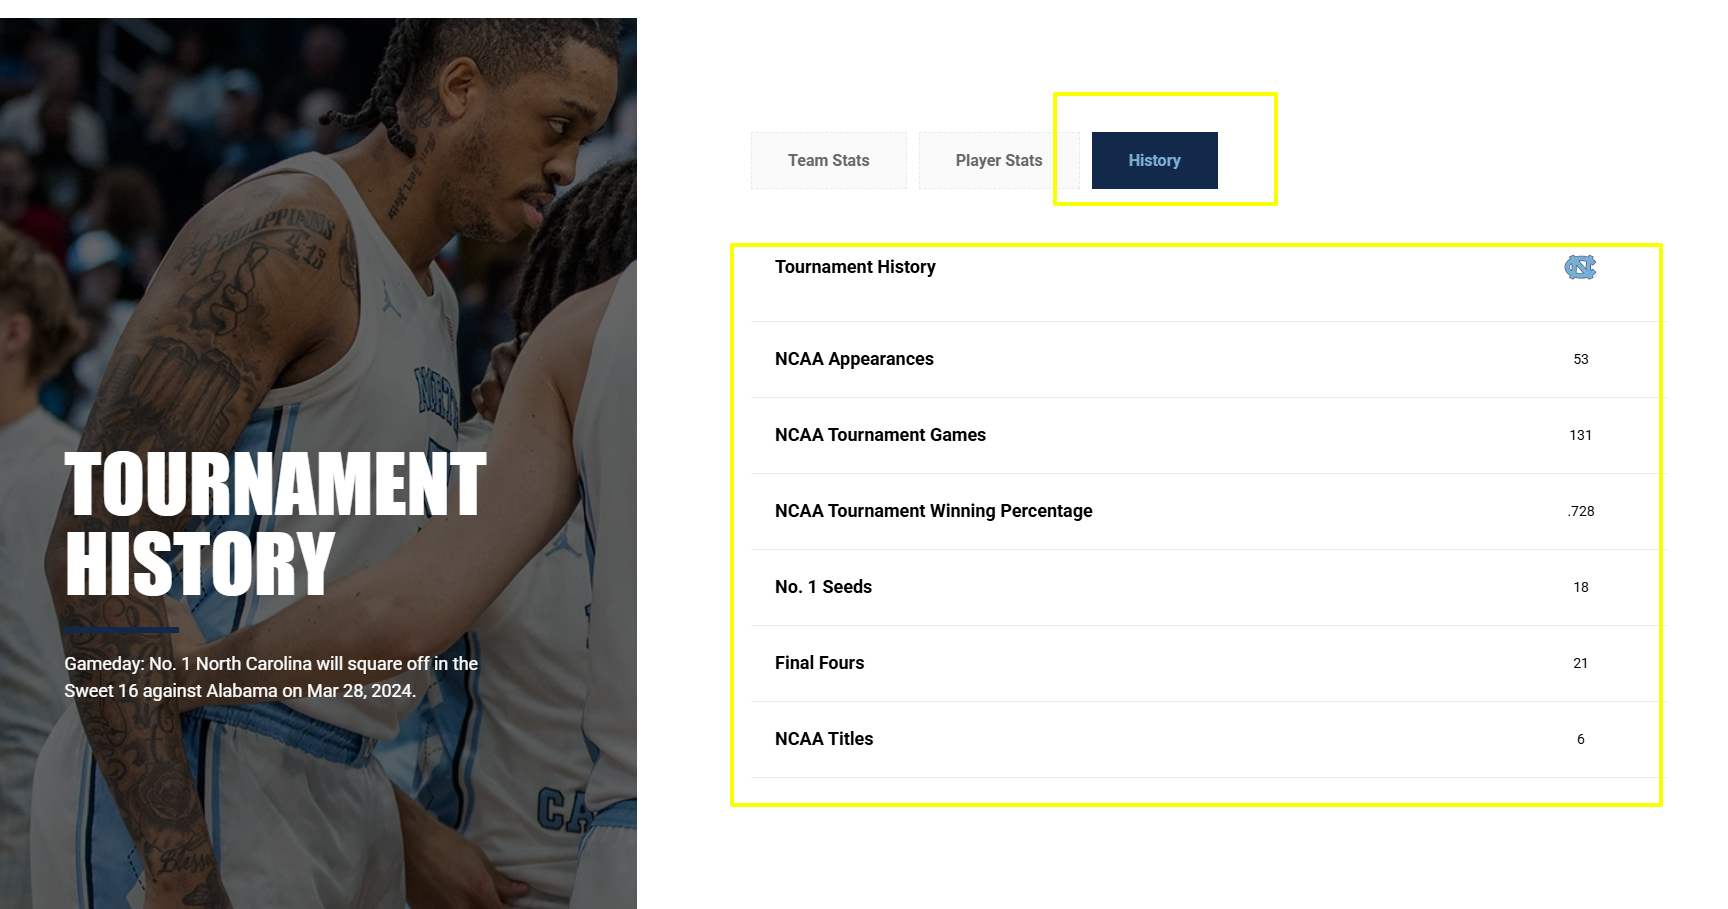
- Tournament History section only displays in the Tournament Progression section as it gets updated. But you are able to enter in your own historical stats.
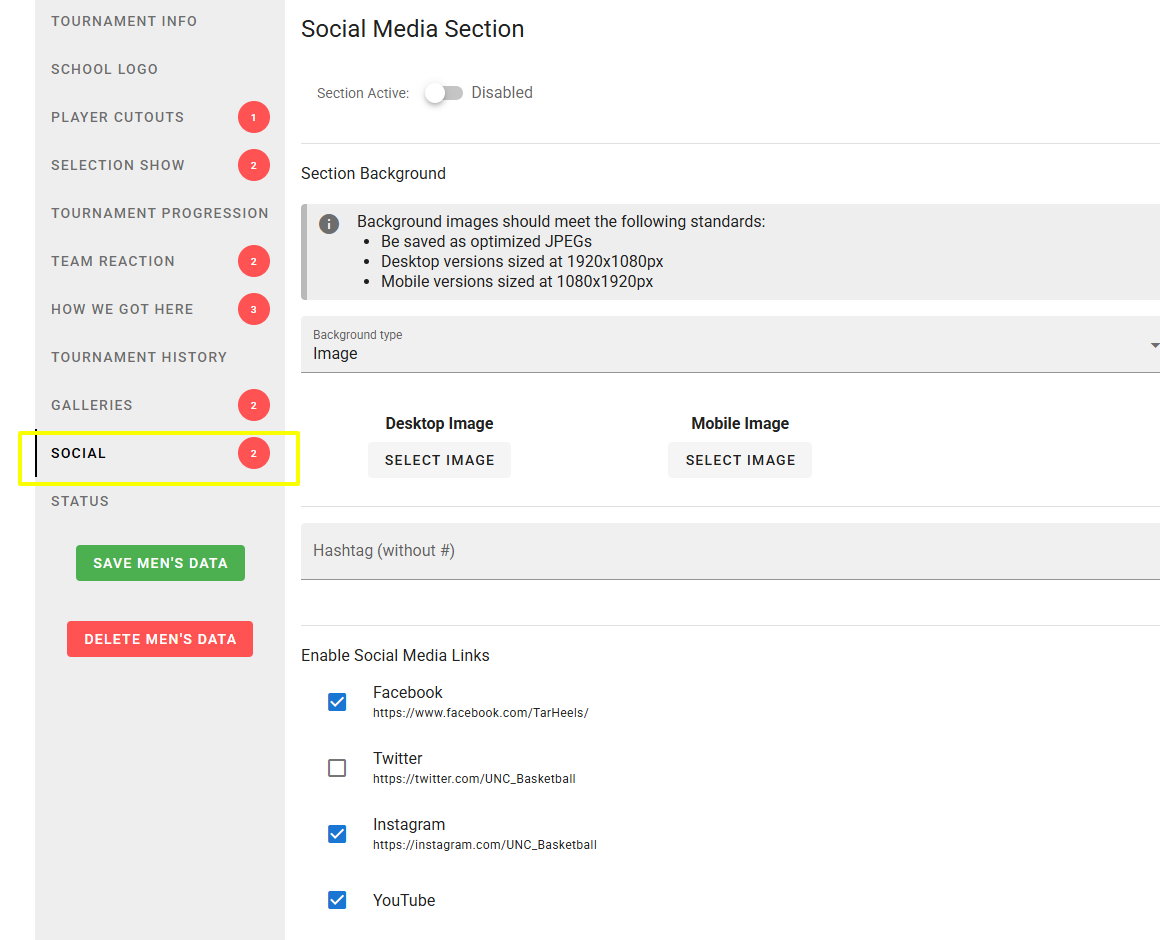
- The Social tab pulls in your Facebook, Instagram and YouTube feeds. Your accounts have to be authenticated in the system. As a note, Twitter is no longer able to be integrated.
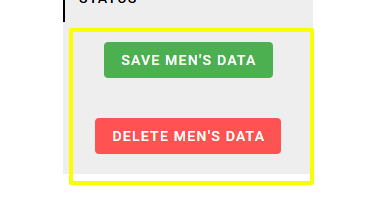
- The Save Data button saves changes to the page, so be sure to save after making your changes.
Delete Data erases your setup and resets the page to start over.
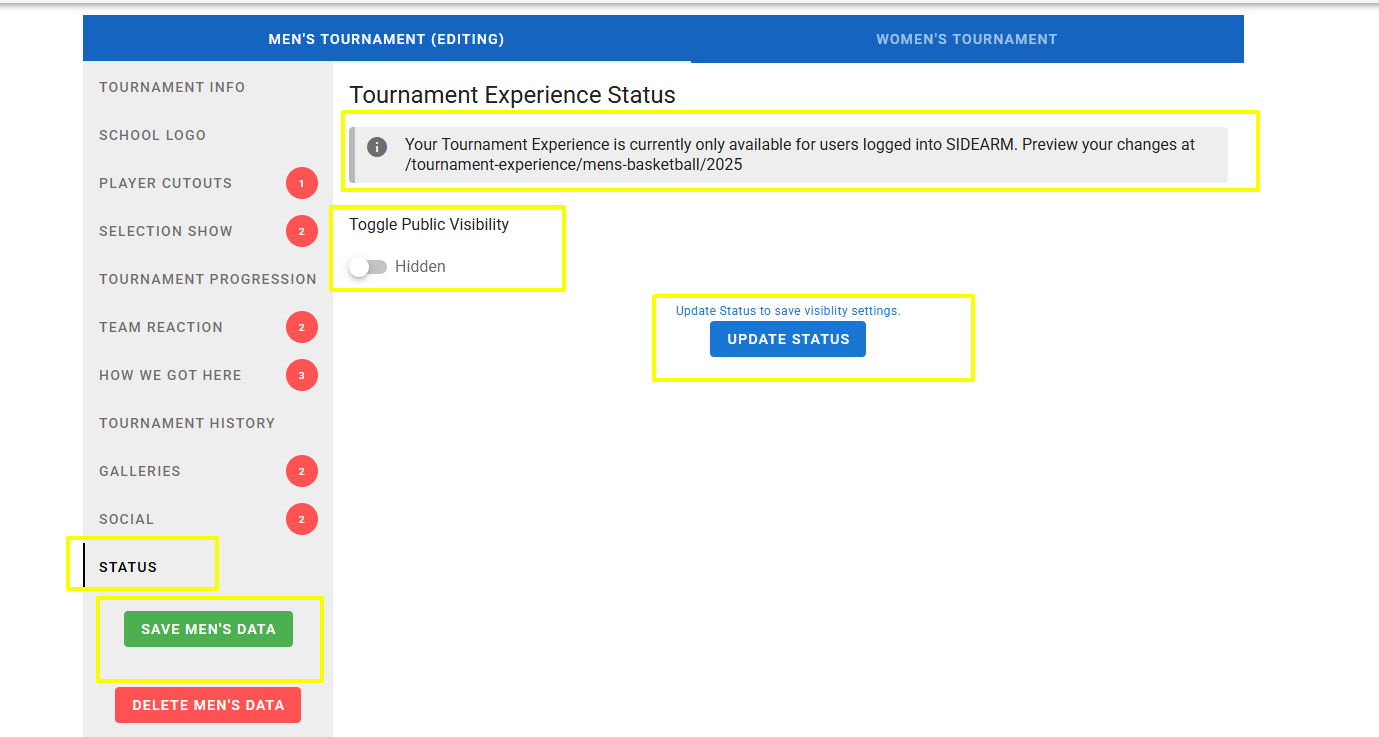
- The Status tab allows you to preview the page and make the page active when ready.
- Once Toggled Visible, it gives you the option to set a Date/Time for Takeover.
If no date is selected, the url will still be visible, so you can use other methods to link to the page such as Ad graphics or locking a Story in the rotator.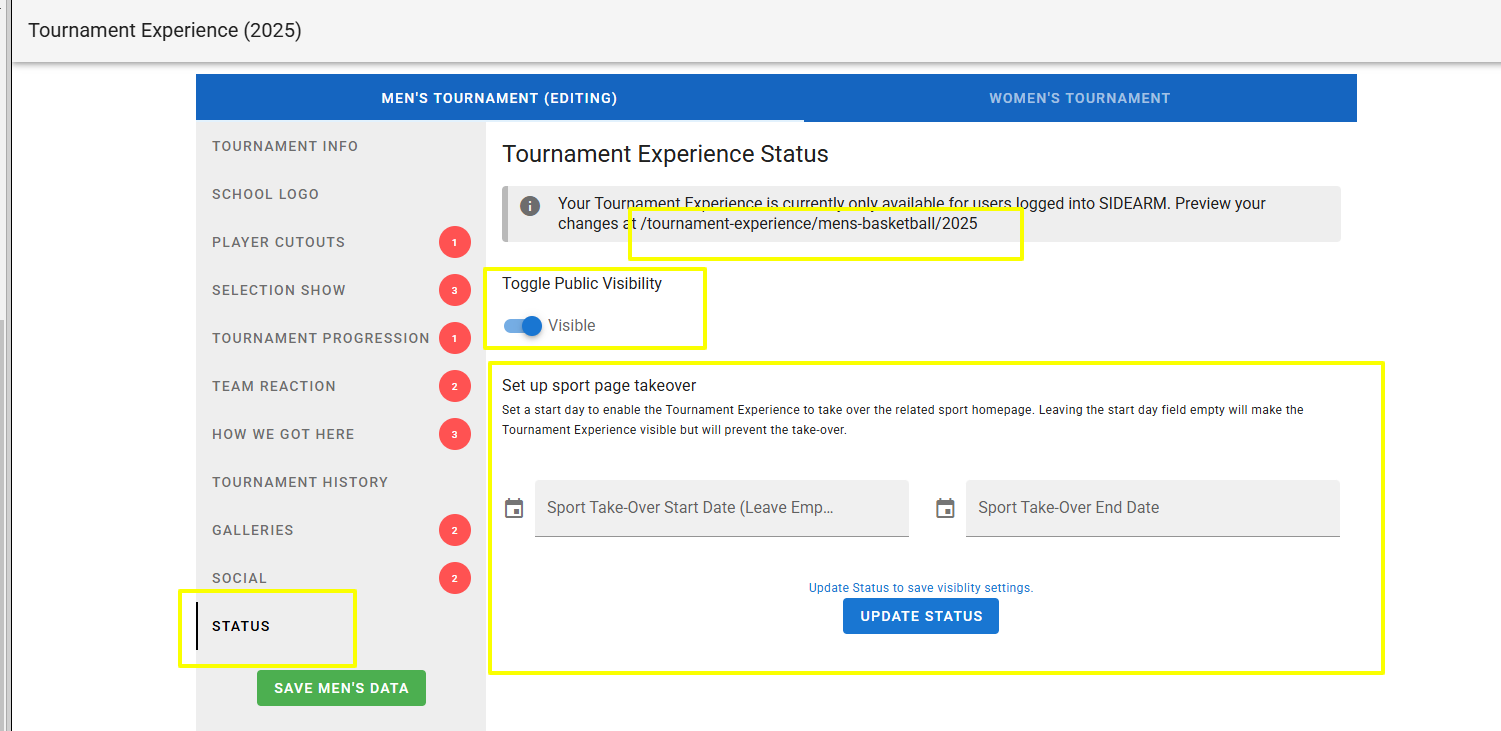
Was this article helpful?
That’s Great!
Thank you for your feedback
Sorry! We couldn't be helpful
Thank you for your feedback
Feedback sent
We appreciate your effort and will try to fix the article