The left navigation of the Watch+ layout does provide some customization via navigation management.
The navigation is broken up into two sections: Explore and Content.
Explore: Contains default links to search or filter by sport.
Content: Contains default links for Home, Live Events, Series and All Access.
If new navigation is added to the content section, the default Series and All Access links will be removed in favor of the new items.
Step 1: Platform Logo
Before editing the navigation, you will first want to upload the official logo for the Watch+ page. This could be as simple as your school logo or specific branding.
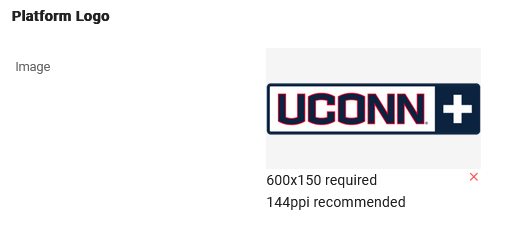
The image is required to be 600x150px with a 144ppi commendation.
Step 2: Adding Navigation
To add new navigation links, first choose which section you want to add to and then click on the ‘add nav item’ button.
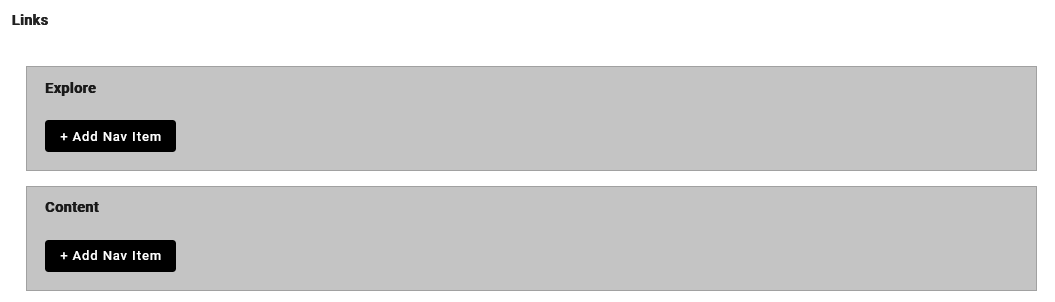
In the next screen you can add either a direct link or create a parent category.
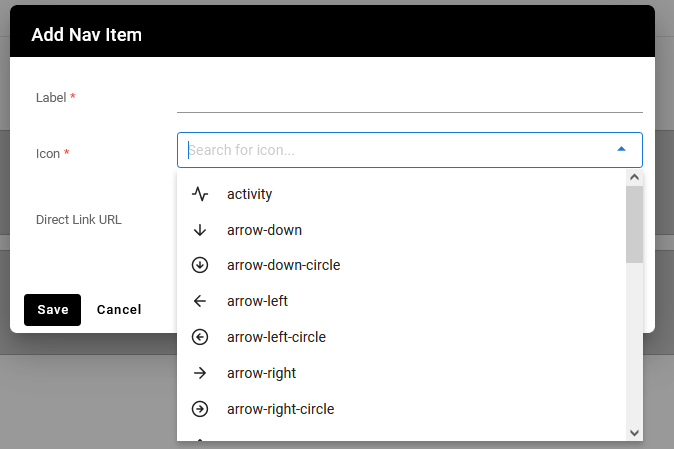
Label: The title of your link.
Icon: Choose from our extensive icon libriary for what you want display to the left of the text.
Direct Link URL: Leave blank if you want to create a parent category.
Step 3: Adding Sub Links
After creating a parent category, you will now have the option to add sub nav items.

Clicking on the ‘Add Subnav Item’ button, you will be brought to this next screen
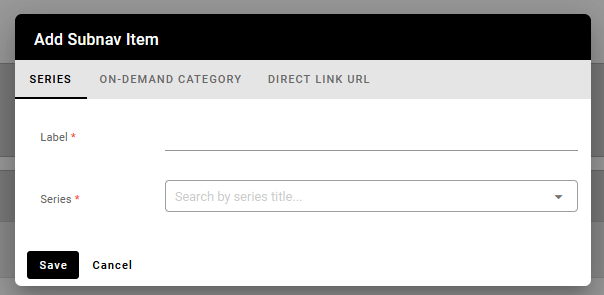
Here you can choose to link directly to a series, on-demand category or a direct link.
Label: The title of your link.
Series: Type in the name of the series an choose from the list.
Category: This field displays when clicking on the ‘On-Demand Category’ tab. Type the name of the category and choose from the list.
Direct Link URL: This field displays when clicking on the third option and allows you to paste a direct link of where the link should go.
Was this article helpful?
That’s Great!
Thank you for your feedback
Sorry! We couldn't be helpful
Thank you for your feedback
Feedback sent
We appreciate your effort and will try to fix the article