To insert images into the body of a story, click on the area of text you would like to insert the image to, and then click on the  Media Objects Button in the Story Editor. This opens the Media Objects menu as seen below
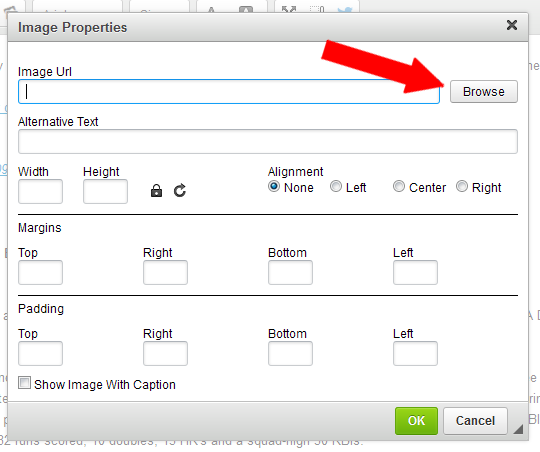
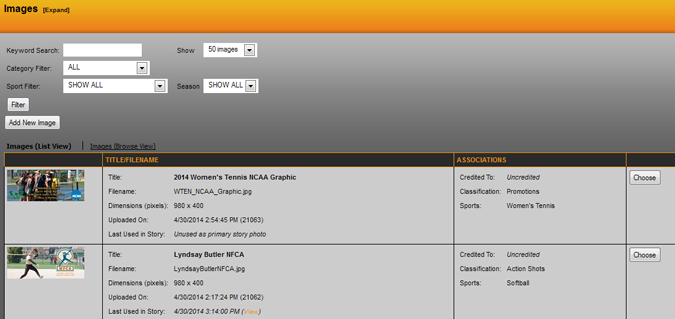
Click on Choose file, and now you will get the Image Selection screen. In this screen, you can use the filters at the top of the window to find the image you want and hit choose, or you can add a new image. To learn how to add a new image, click here Images
After choosing an image, you will be prompted to choose an image size. SIDEARM provides some different sizing and cropping options, or you can simply use the original image size.
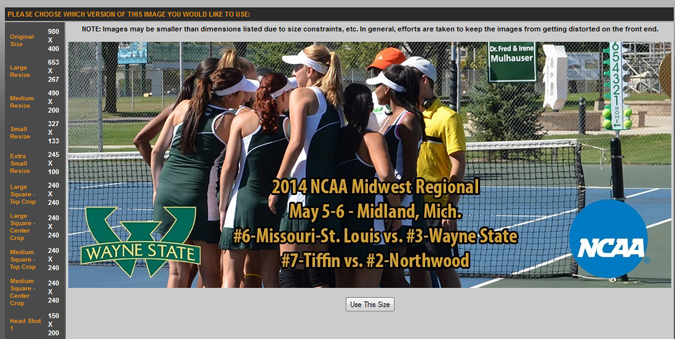
In this scenario, we chose Large Resize as our cropping size. Now, back in the Media Objects menu, choose where the image should be justified, left, center or right and add an appropriate margin or padding. We suggest adding a margin of 5 to the opposite side it is justified for, so if you justify to the left, add a margin of 5 to the right. Then click on insert media object. You also can choose whether or not the image will have a caption by check the box in the lower right corner.
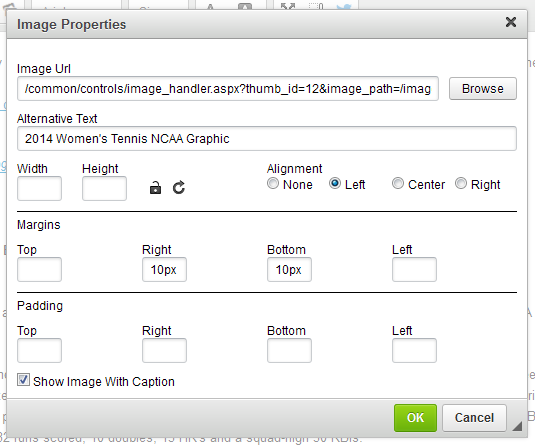
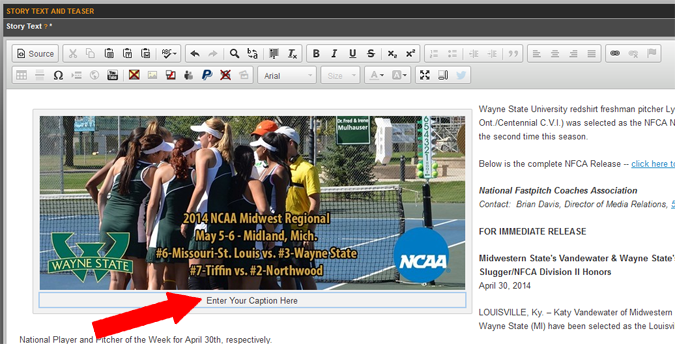
Now the image has been successfully inserted into the story body. There is no limit in the number of photos that can be inserted into a story, so repeat this process as needed. If you chose to add a caption, you can type the caption text into the area below the image as seen in the photo below.
Was this article helpful?
That’s Great!
Thank you for your feedback
Sorry! We couldn't be helpful
Thank you for your feedback
Feedback sent
We appreciate your effort and will try to fix the article